The famous Zig Ziglar, renowned entrepreneur, couldn’t have put it better: “People don’t buy for logical reasons, they buy for emotional reasons.”
Isn’t it also true that first impressions last?
90% of buyers questioned on a survey said that photo quality is the most important thing in an online purchase.
Otherwise, how can they vividly imagine what your product looks like, smells and feels?
One of the most effective ways of stirring up positive emotions in your potential customer (and making your brand unforgettable) is through photography.
Taking professional photos of your natural products is essential for showcasing them effectively on your website, social media, or any other marketing materials.
However, owning a high-end camera may not always be a possibility for every natural products business, especially for small businesses or beginners.
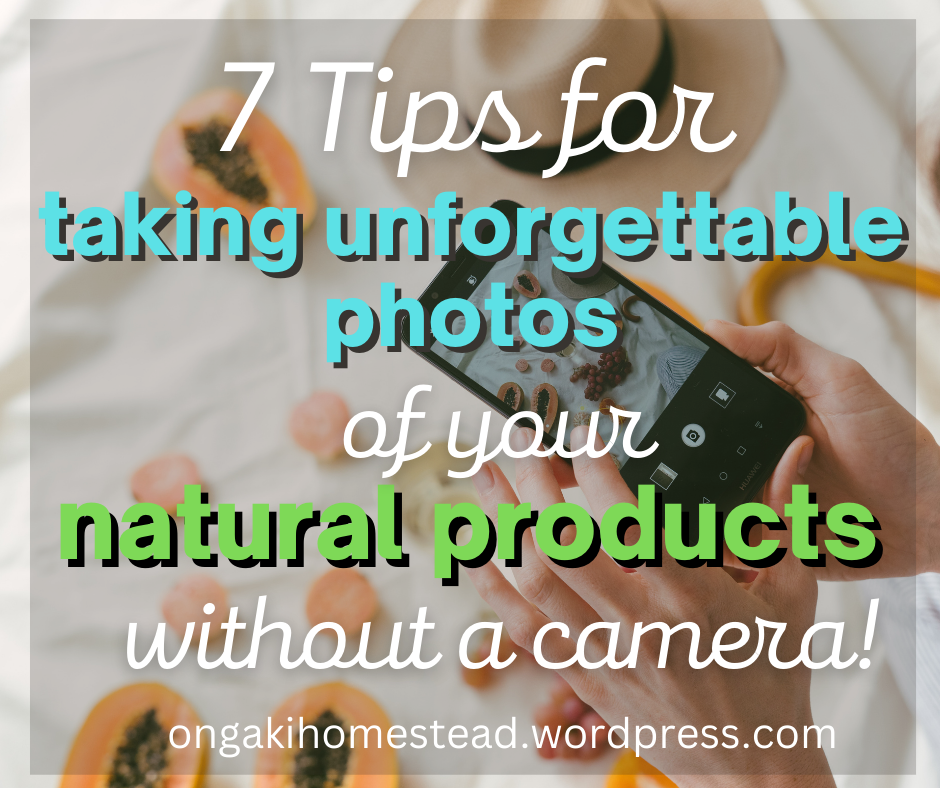
Fortunately, with the advancements in technology, you can still take professional-looking photos of your natural products without an expensive camera. Here is how you can do it.
Tip #1: Use Your Smartphone Camera.
You don’t need a fancy camera to take great photos, just your smartphone and a few tricks.
Yes, you can take high-quality photos, right at home, that are good enough to make your catalog look like something off a magazine.
You can play with the brightness, contrast, and saturation levels to get the desired effect.
Tip #2: Use Natural Light.
Natural light is the most important asset you have on your hands.
Even professional photographers have been quoted saying that natural light is the best for creating eye-catching, gorgeous product photos.
Place your product near a window or outside in a shaded area and adjust the position and angle until you get the desired lighting.
Make sure you are taking photos during the golden hour, which is the hour before sunset or after sunrise, when the light is soft and warm.
Tip #3: Experiment with Angles.
Remember we said you should have at least 100 photos of your products ready to share online? That’s at least 10 photos per product.
The reason is you don’t want to keep taking photos again and again, every day, whenever it’s time to update your socials.
Experimenting with angles can help you take more interesting, diverse and professional-looking photos.
It’s a way of getting more photos from one product – get all the juice from each product.
Try taking photos from above, at an angle, or even straight on.
It all depends on the product and what you want to show.
Tip #4: Carefully Edit Your Photos.
Once you have taken your photos, you can use editing tools to enhance them further.
You can use photo editing apps like VSCO, Lightroom, or Snapseed to adjust the brightness, contrast, saturation, and other settings.
You can also use these apps to add filters or make other adjustments to get the desired look.
Be careful not to overdo it, otherwise it will drastically change the colors and appearance of your products – that can potentially make your customer feel like they’ve been scammed.
Tip #5: Use Specially Designed Canva Templates.
If you haven’t heard me delve into the wonderful app called Canva, please do so here. Head over to my archives for a detailed blog post, too!
Don’t just post your photos as they are – make new product announcements, sale announcements, and seasonal greetings with style and personality.
Using Canva, you can design the cutest social media posts and flyers and make your photography even more unforgettable.
You know what? I’m feeling generous… Want a 100% FREE copy of my $3 2023 Canva Templates for Instagram?

Give me your working email address and I’ll send it there now. *You can only get it for free if you sign up here*
Tip #6: Invest In A Ring Light.
A ring light is a great tool to use when taking photos of your products, especially if you don’t have access to natural light. (For whatever crazy reason!)
It provides an even source of light and minimizes shadows, making it easier to get high-quality shots.
You can easily buy one on Amazon for as little as $25.99.
Tip #7: Create a Background.
The background of your photos is just as important as the product itself.
Make sure you have a clean and simple background that does not distract from the product.
You can use a plain sheet or wall as a background, or you can get creative and make your own custom background.
Conclusion
Taking professional-looking photos of your products does not require an expensive camera, or fancy lights like you probably thought!
With a few simple tricks and tools, you can take great photos using just your smartphone.
Experiment with different lighting, angles, and editing techniques until you get the desired look.
Remember to keep your photos simple and focused on the product, and you will be able to get more sales and hit 6-figures, simply doing what you love.
Now, join our private FB group for some inspo to get you motivated to take better pictures of your natural products!


Leave a comment